It’s almost back to school, so this week we are doing a fun surprise take-n-make. Each kit has a sensory activity inside! But it is a surprise!!!

Bowman Regional Public Library
Bringing people, information & ideas together to enrich lives and build community.
It’s almost back to school, so this week we are doing a fun surprise take-n-make. Each kit has a sensory activity inside! But it is a surprise!!!
For this craft you will need a scissor, glue, markers, white paper, cardboard, string, and something sharp to poke a hole.
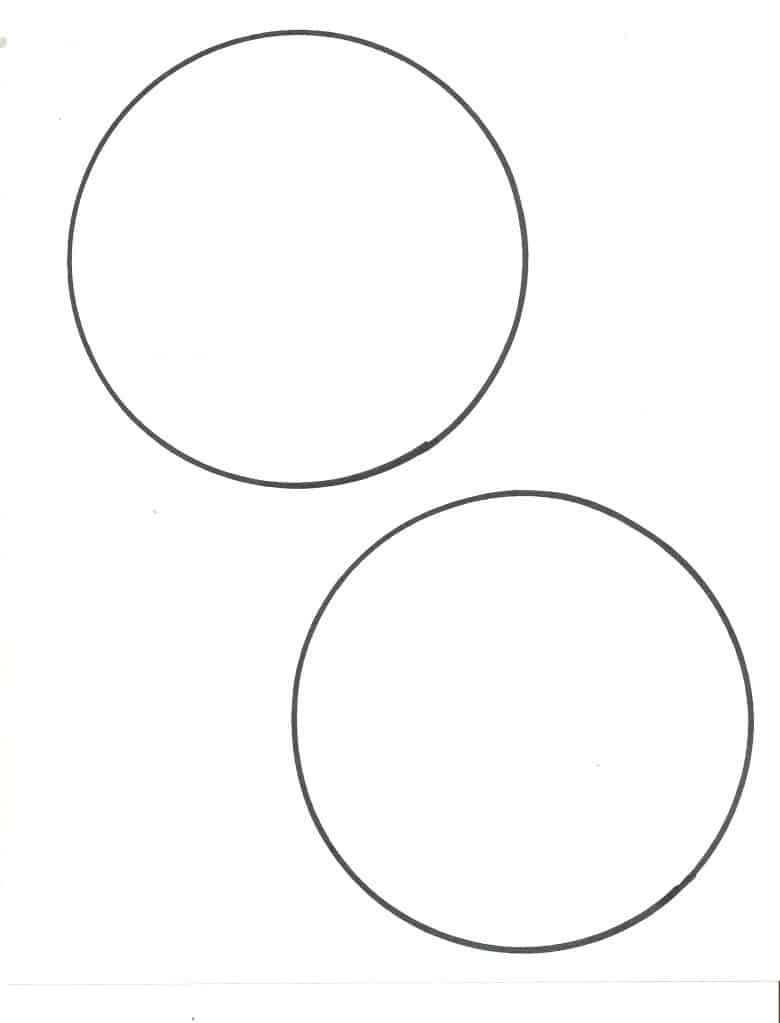
First, either print the template below, or trace something round to create two circles on the white paper and one on the cardboard. Decorate the white circles. Then cut all of the circles out. Glue a decorated circle on each side of the cardboard, so the designs are showing on either side. Then, poke two small holes in the middle of the spinner. Run your string through the holes and tie the ends in a knot. This means that the string creates a loop and it runs through the holes of the spinner. (see picture).
To use the spinner, take a piece of rope in each hand with the circle in the middle and go in circles to get the rope twisted. Pull-relax-pull-relax on the string to watch the spinner twirl.

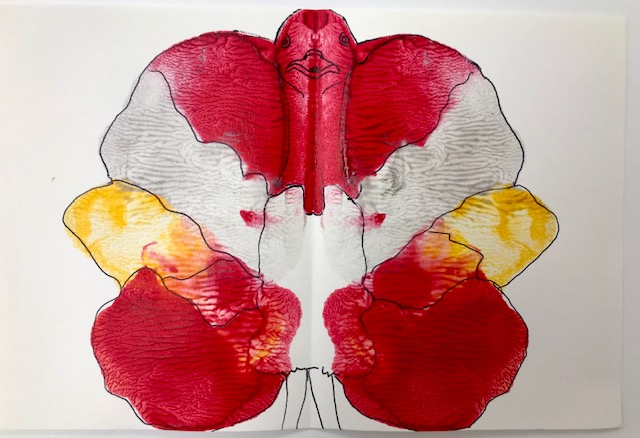
This craft is a messy one but lots of fun. Be sure to have some newspaper down for a workspace or do it outside. All you will need beyond that is a black marker or pen, some cardstock or watercolor paper, and paint.
Fold your paper in half and open it back up. Add small drips of paint in a couple of different colors around the paper until you like how they are arranged. Once you are satisfied with the placement, fold the paper in half again along the crease already made. Rub on the outside of the paper to spread the paint around. Open it back up and observe your design. Do you see a creature or two in the different colors and shapes? Let your painting dry completely. Then, go back in with your marker or pen and outline your creatures! Add in any details you would like. This is a fun project to spark the imagination, and is fun for all ages!!
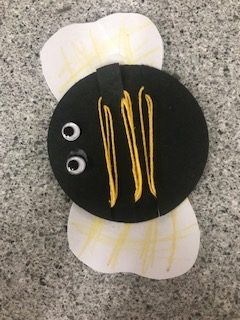
For this craft, you will need a black piece of paper, yellow yarn, white paper, google-eyes (or just draw your own), glue, a scissor, and crayons (if you would like to add more details).
Trace a round object on your black paper to create a circle and cut it out. Cut three marks on either side of the circle, only cutting in a little bit. Take your string and wrap it around the body of the bee to make its stripes. You can tie it off on the back or just tuck it in. Then glue on the google-eyes. Next, take the white paper and cut out two wings. You can color them however you wish. Glue them on the back of your bee.
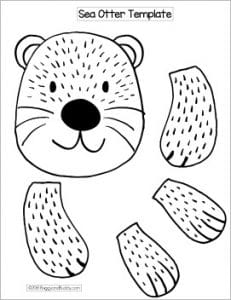
You will need the printout below (or white paper and a marker to draw your own), a scissor, glue, and crayons. Print out the sea otter parts provided or draw your own. Color them and cut them out. Glue them onto your paper bag to make a puppet!
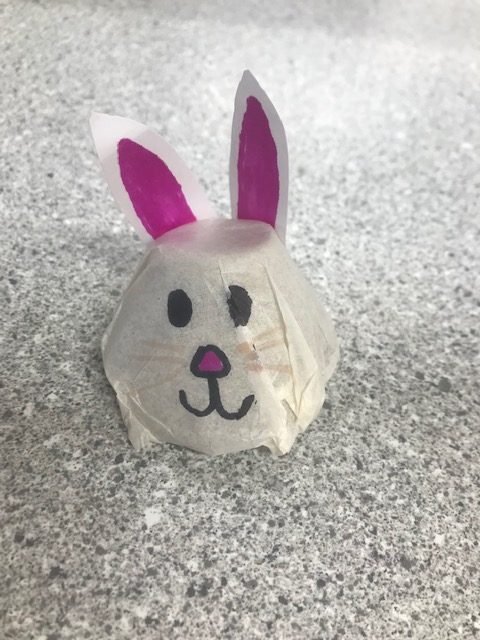
For this craft you will need an egg carton, markers, white tissue paper, white paper, a scissor, and liquid glue.
First, cut out a cup from the egg carton. Then take your tissue paper and cover the egg carton, tucking the extras up underneath. Then draw on the face of the bunny. Next, cut out two ears and decorate those, gluing them on the back. Let dry.
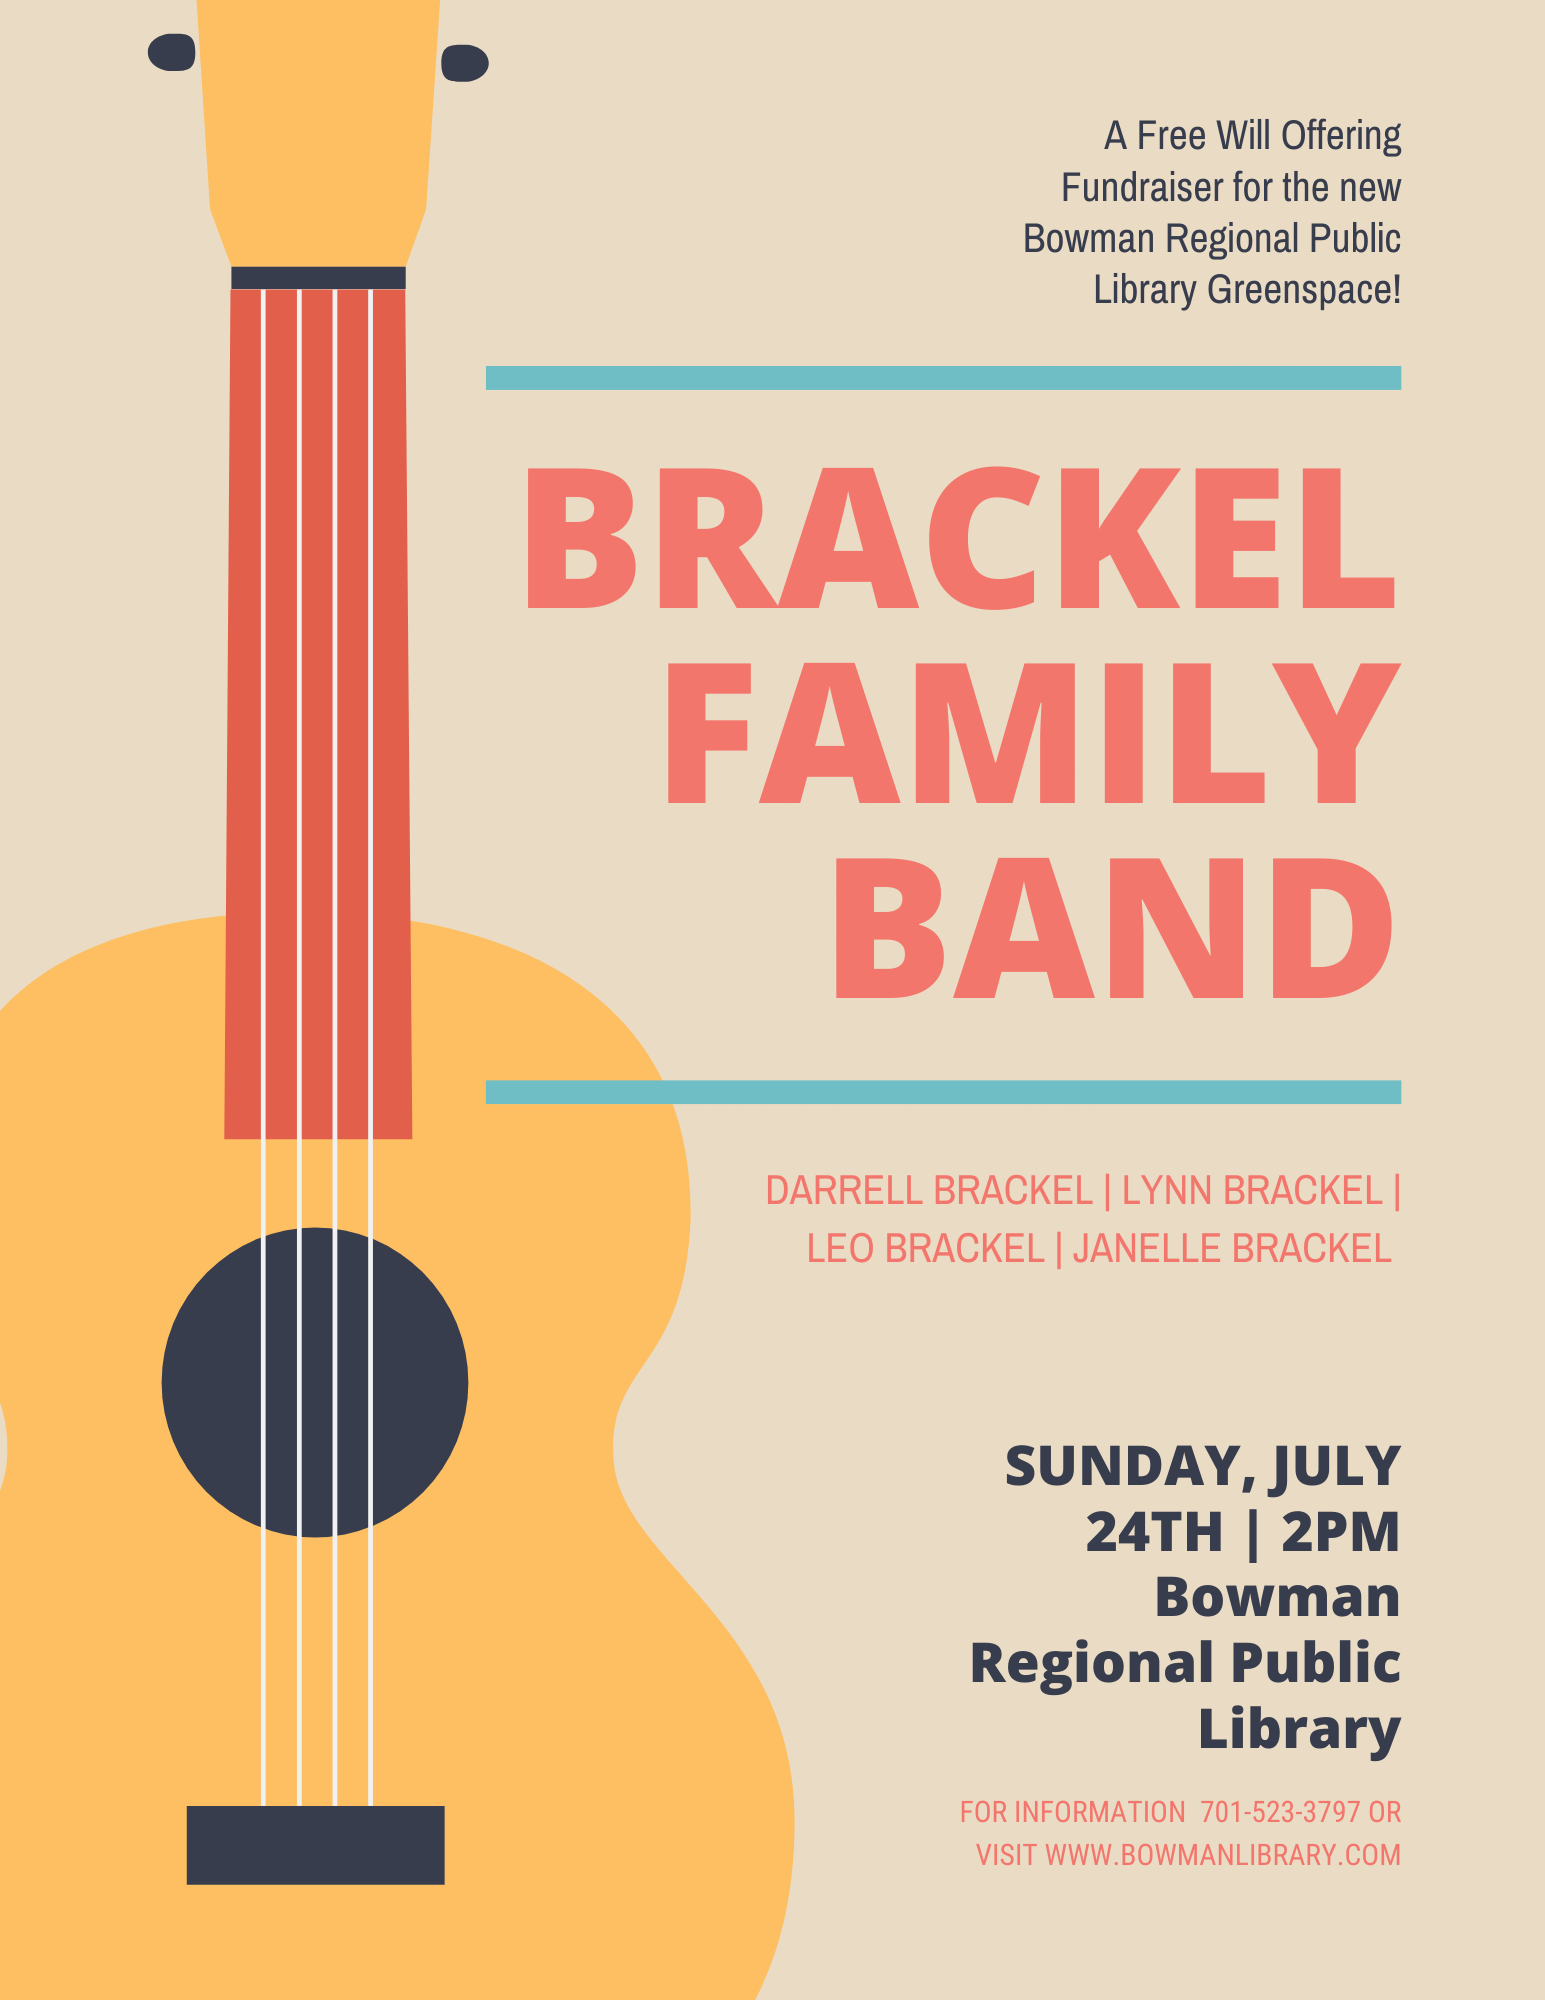
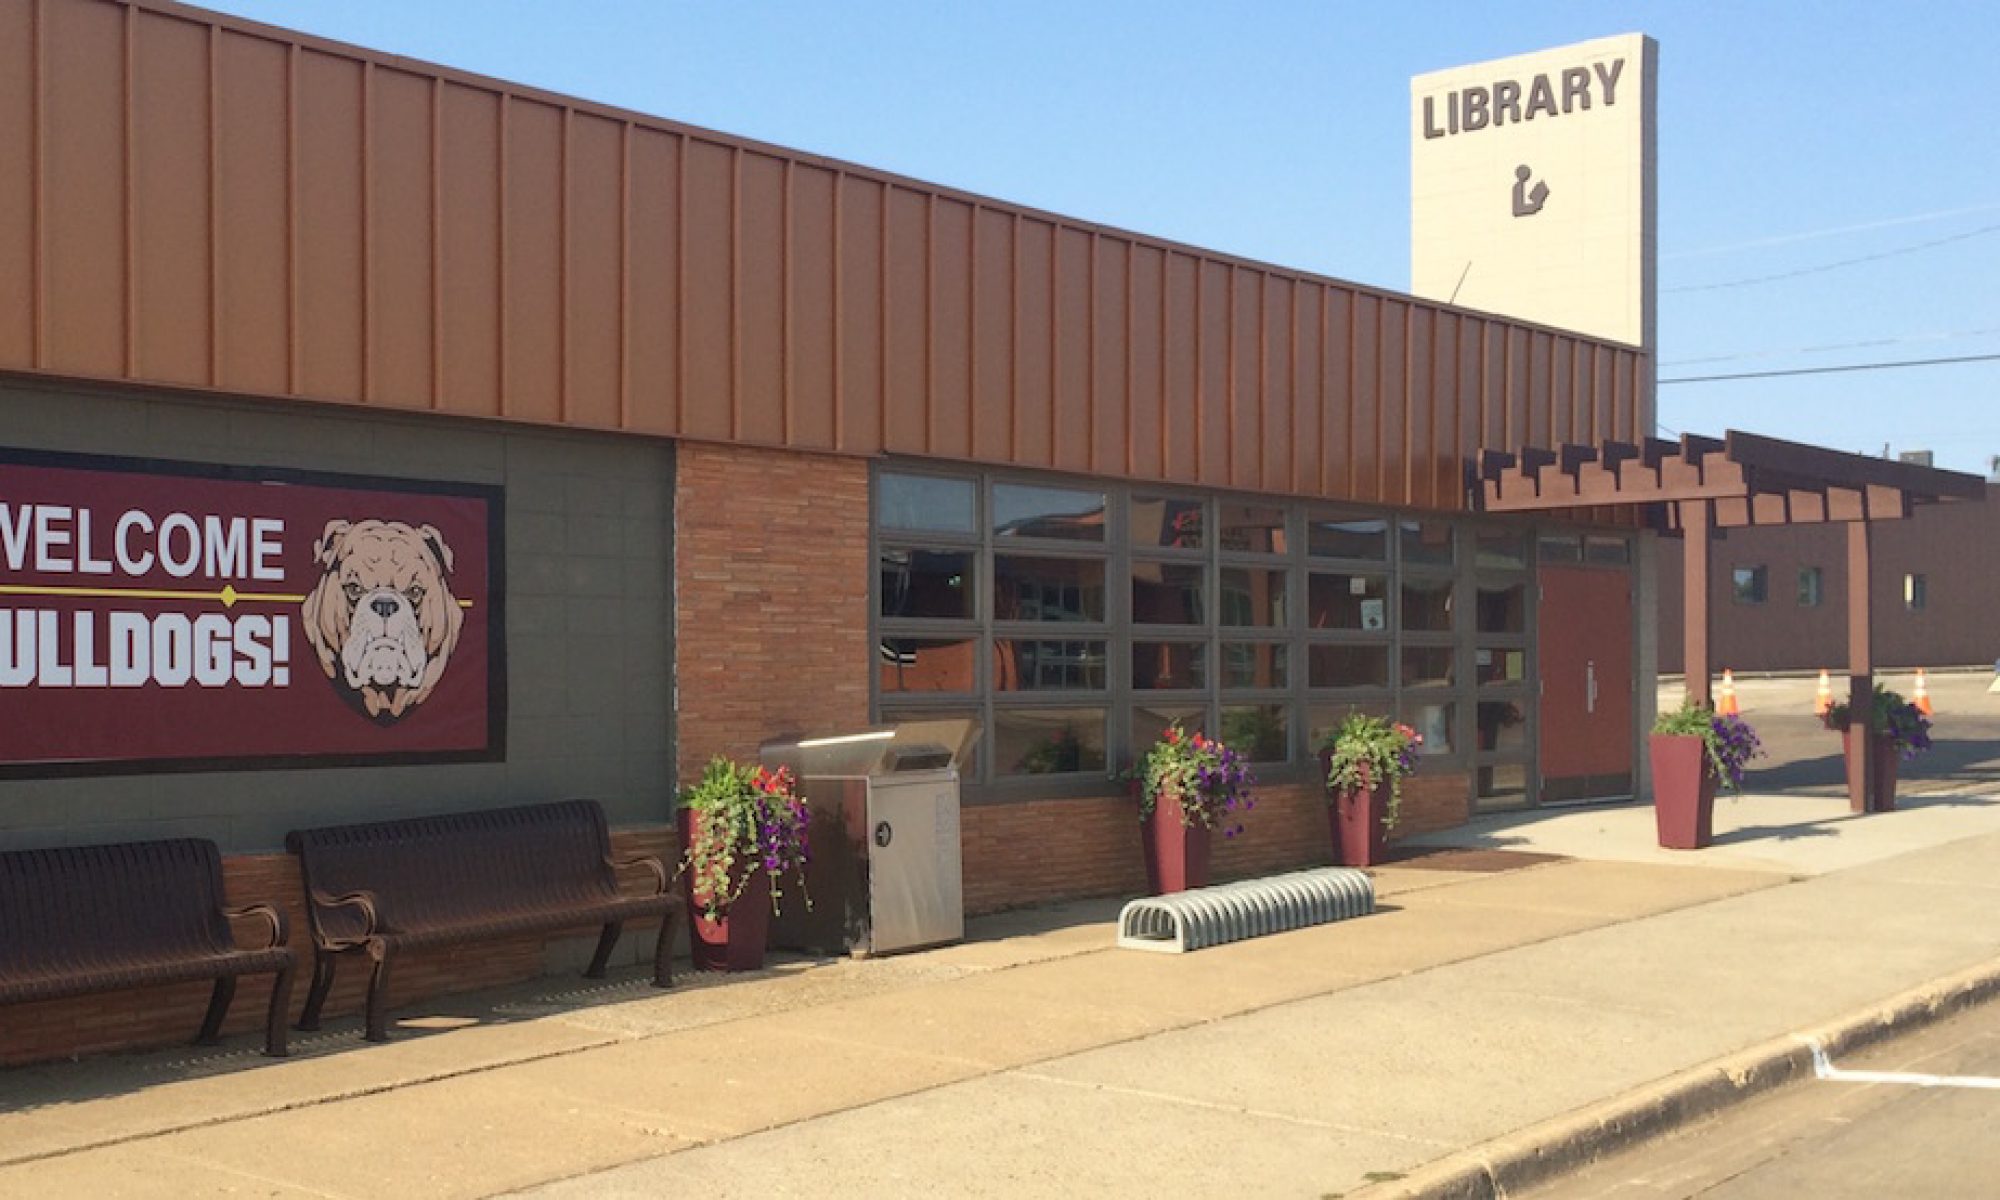
Let’s get together and celebrate the new Bad Lands mural on the Library’s West Side! Artist, Marie Snavely, has completed a 80 x 10′ mural inspired by the North Dakota Bad Lands. We will have a grand opening on Sunday, July 24th with live music and refreshments to mark the occasion of this new art work in Bowman, North Dakota.
Music will be provide by the Brackel Family Band. It’s a free will offering with proceeds going to the Library’s Green Space project.
Here’s the details: Sunday, July 24th 2PM at the Library. Call or message the library for more details.
You will need a few pieces of chalk in different colors and a black piece of paper. Draw out your fireworks in different shapes. You can blend with your fingers or a paper towel, or leave as is. Experiment with the chalk!

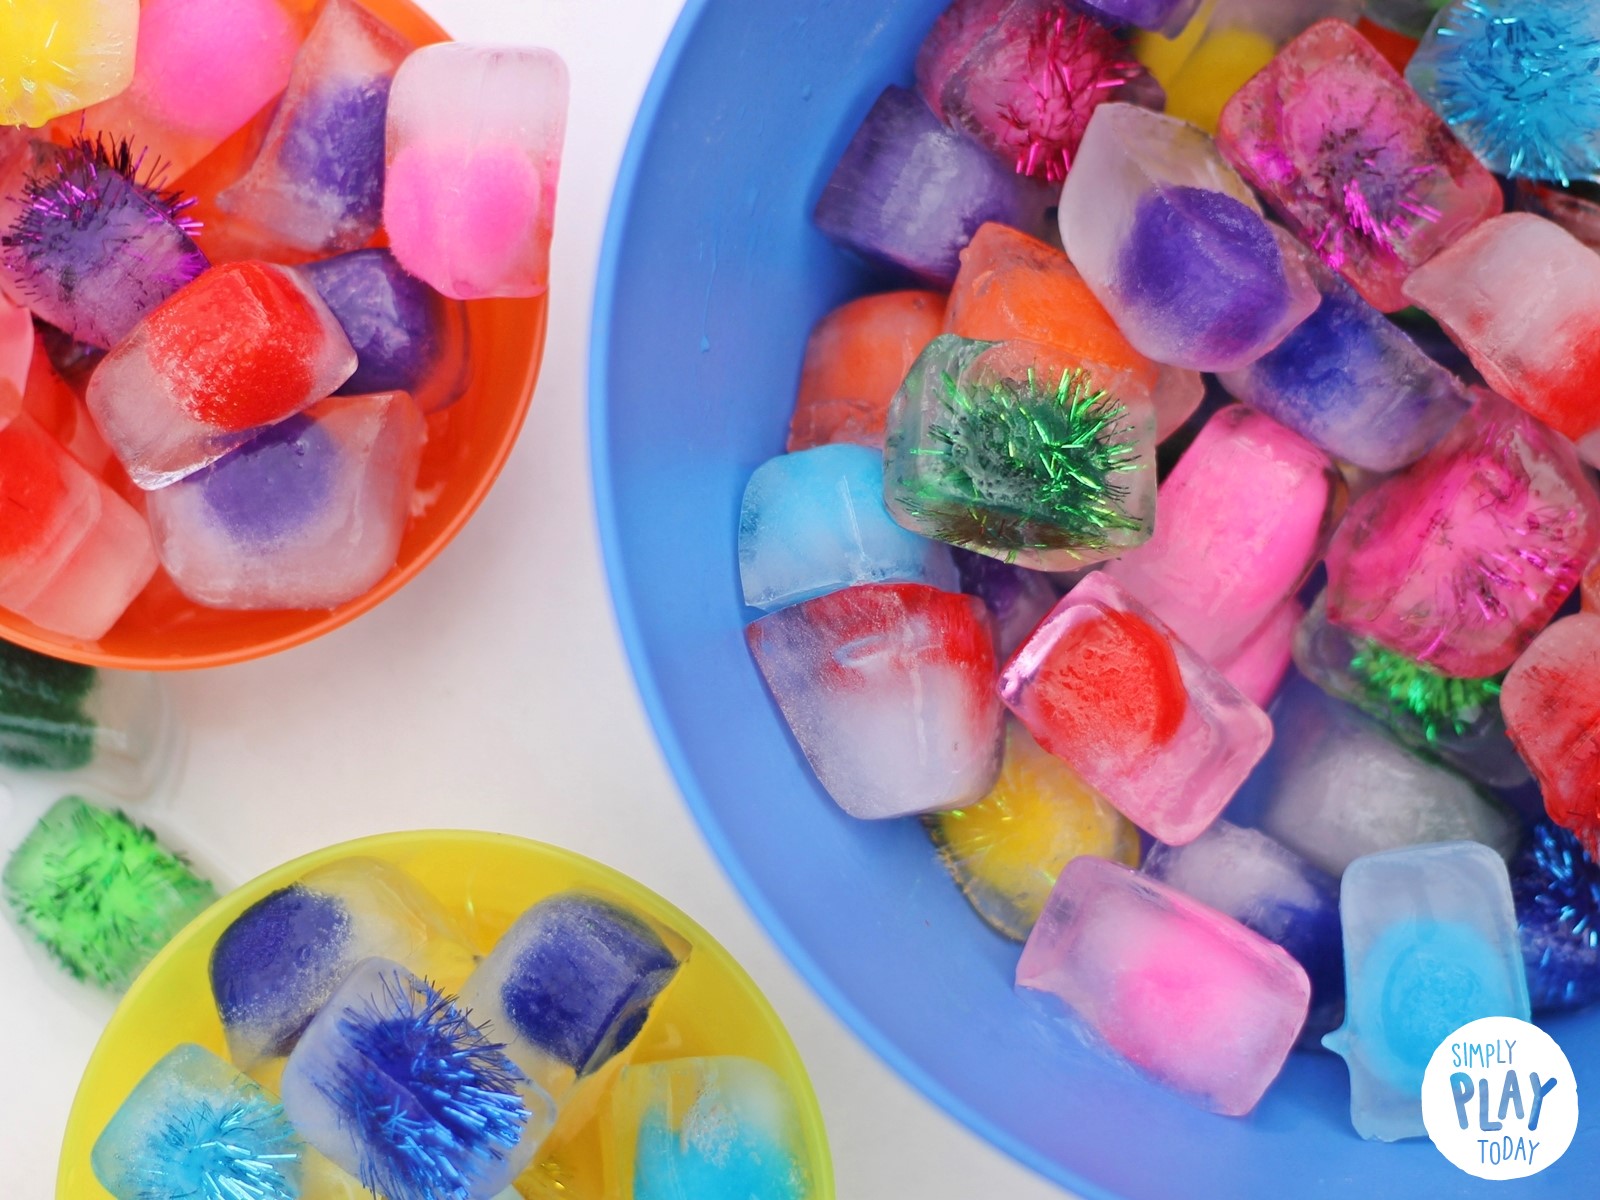
For this craft we included various textured objects to include in an ice sensory play experience. You can use the red cup to freeze your objects if you would like, or find other sized containers to use. All you will need is water, food coloring (not required, but a fun addition), utensils to dig with, and a freezer!
Place your objects how you wish in the container you are freezing them in. Then add water (and food coloring, if using) and freeze. When they are frozen, take the ice outside and play! You can dig out objects, watch them melt, speed things up with warm water, etc. The whole point is to experiment and explore.
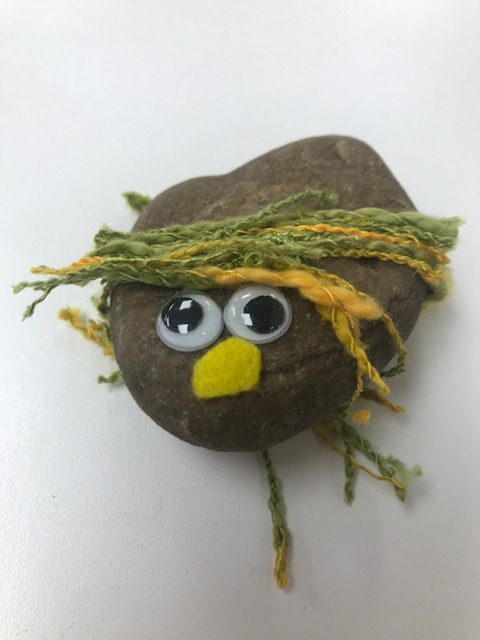
This week we are making these adorable rock buddies! All you will need is a rock, yarn, two googly eyes, some liquid glue, felt, and a scissor.
You can also decorate your rock with some markers or paint if you’d like, and can just draw on the eyes and nose.
Cut up your yarn into little pieces to make the hair. Then glue them onto the rock where you want them. Next glue on the two googly eyes and cut a nose out of felt. You can also use the felt to cut other shapes and glue on. Let your rock dry!!