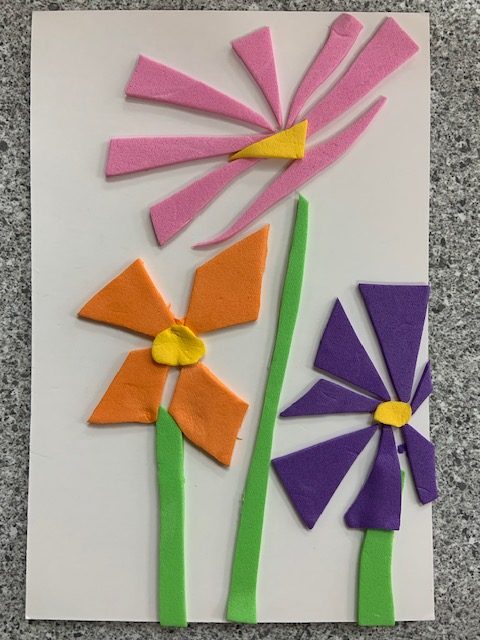
You will need a small piece of white cardstock paper, different colors of foam, glue ( if it doesn’t have sticker backing), and a scissor. If you need to draw out your design first, a pencil might be helpful too. All you need to do is cut the foam pieces into shapes and use them to make a mosaic design. If they have a sticker on the back, peel and stick, otherwise glue them down. Arrange your pieces, stick them on, and you are finished!
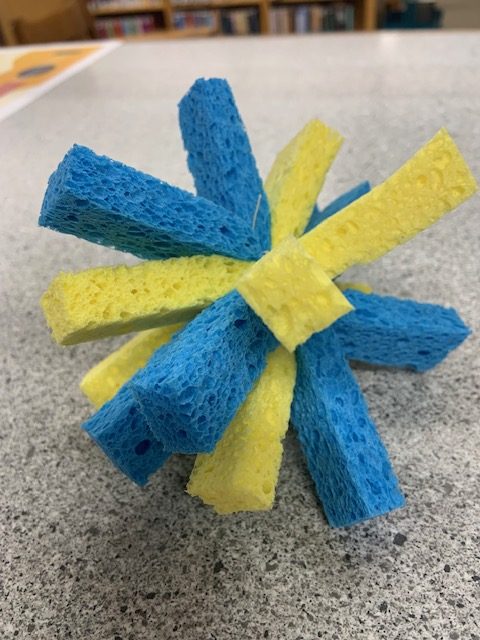
For this craft you will need a scissor, two sponges, and a string.
Take your sponges and cut them into 4 equal (as close as you can get) strips going the long way. Once you have them cut you will stack them on top of each other. So you will end up with 4 strips on the bottom and 4 on top. You can alternate colors if you want to.
Then take your string and tie them in the middle very tightly. Knot it off and cut any excess string off.
As you do this the sponges will transform into a ball shape. Spread the pieces out to your liking.
To use your sponge soaker, just soak in water and throw! You can use them in place of water balloons.
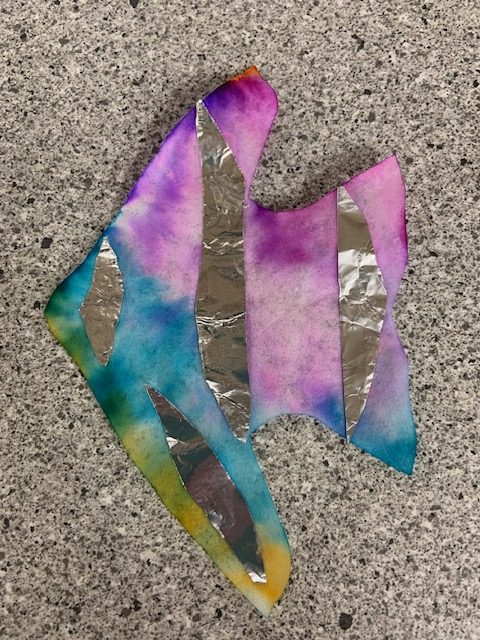
For this craft you will need a coffee filter, scissor, aluminum foil, glue, and either washable markers and a spray bottle of water or watercolors.
First, either using watercolors or washable markers, decorate your coffee filter. If using spray bottle method just color your filter with the markers and then spray with water to let the colors bleed. Once it dries, cut it into a fish shape. You can fold the filter in half and cut to make one similar to the picture. Then glue on pieces of aluminum foil.
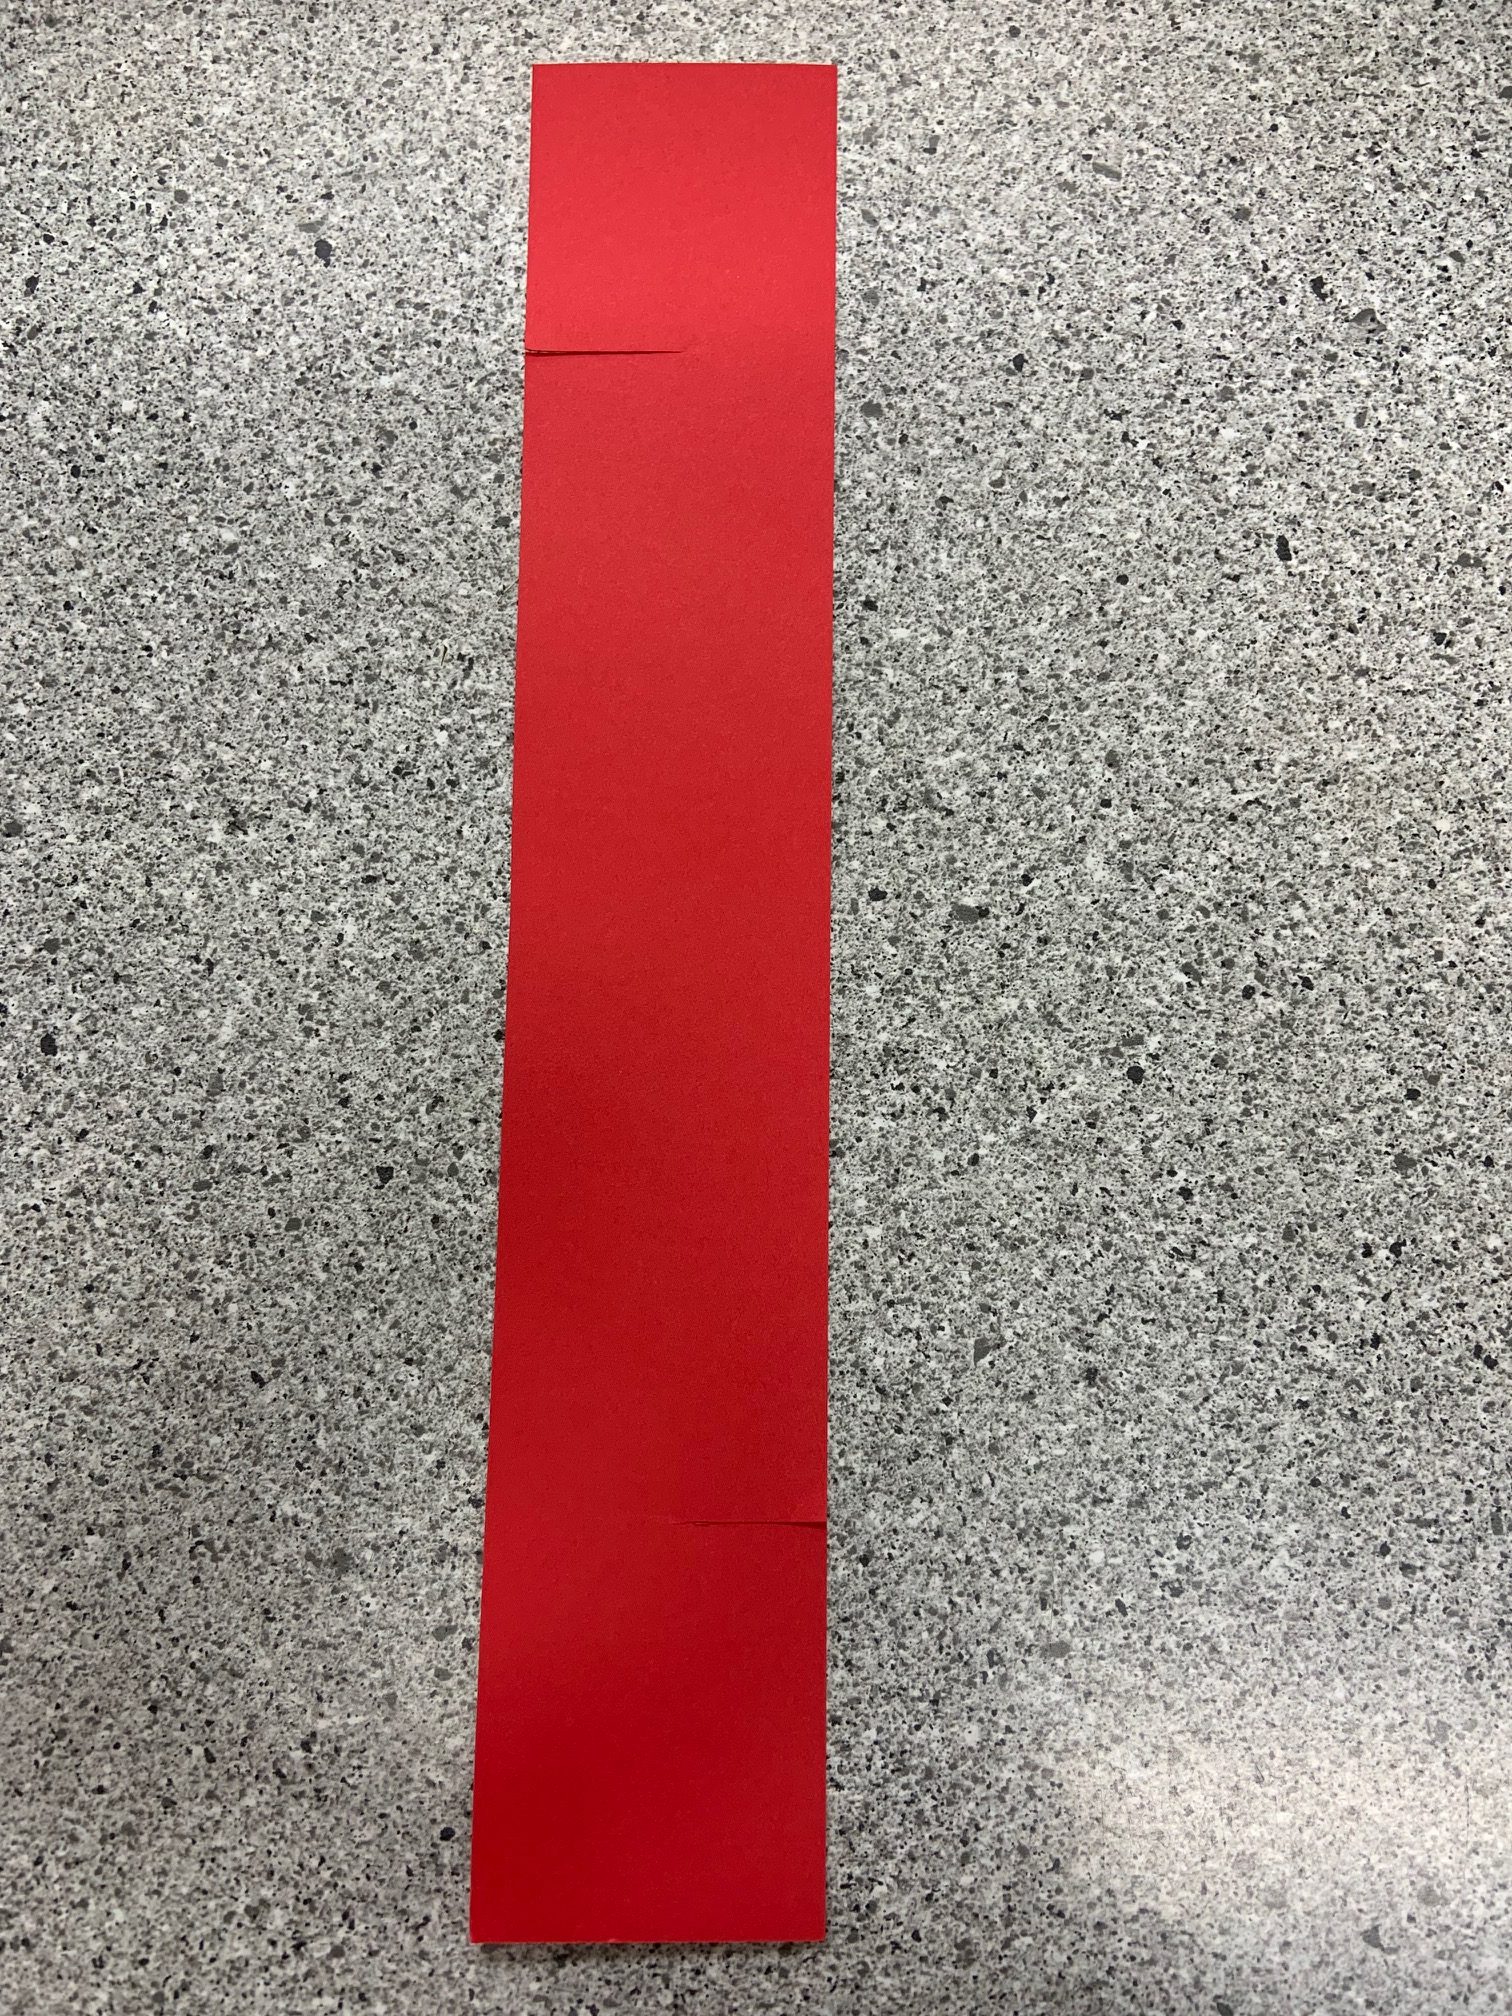
All you need for this craft is some cardstock paper, markers to decorate your paper, and a scissor.
Take your strip and decorate it. Then you will cut two marks with your scissor. You will cut them about an inch from the end, but do not cut all the way through to the other side, only cut about halfway. They will be on opposite sides too. See the picture below.
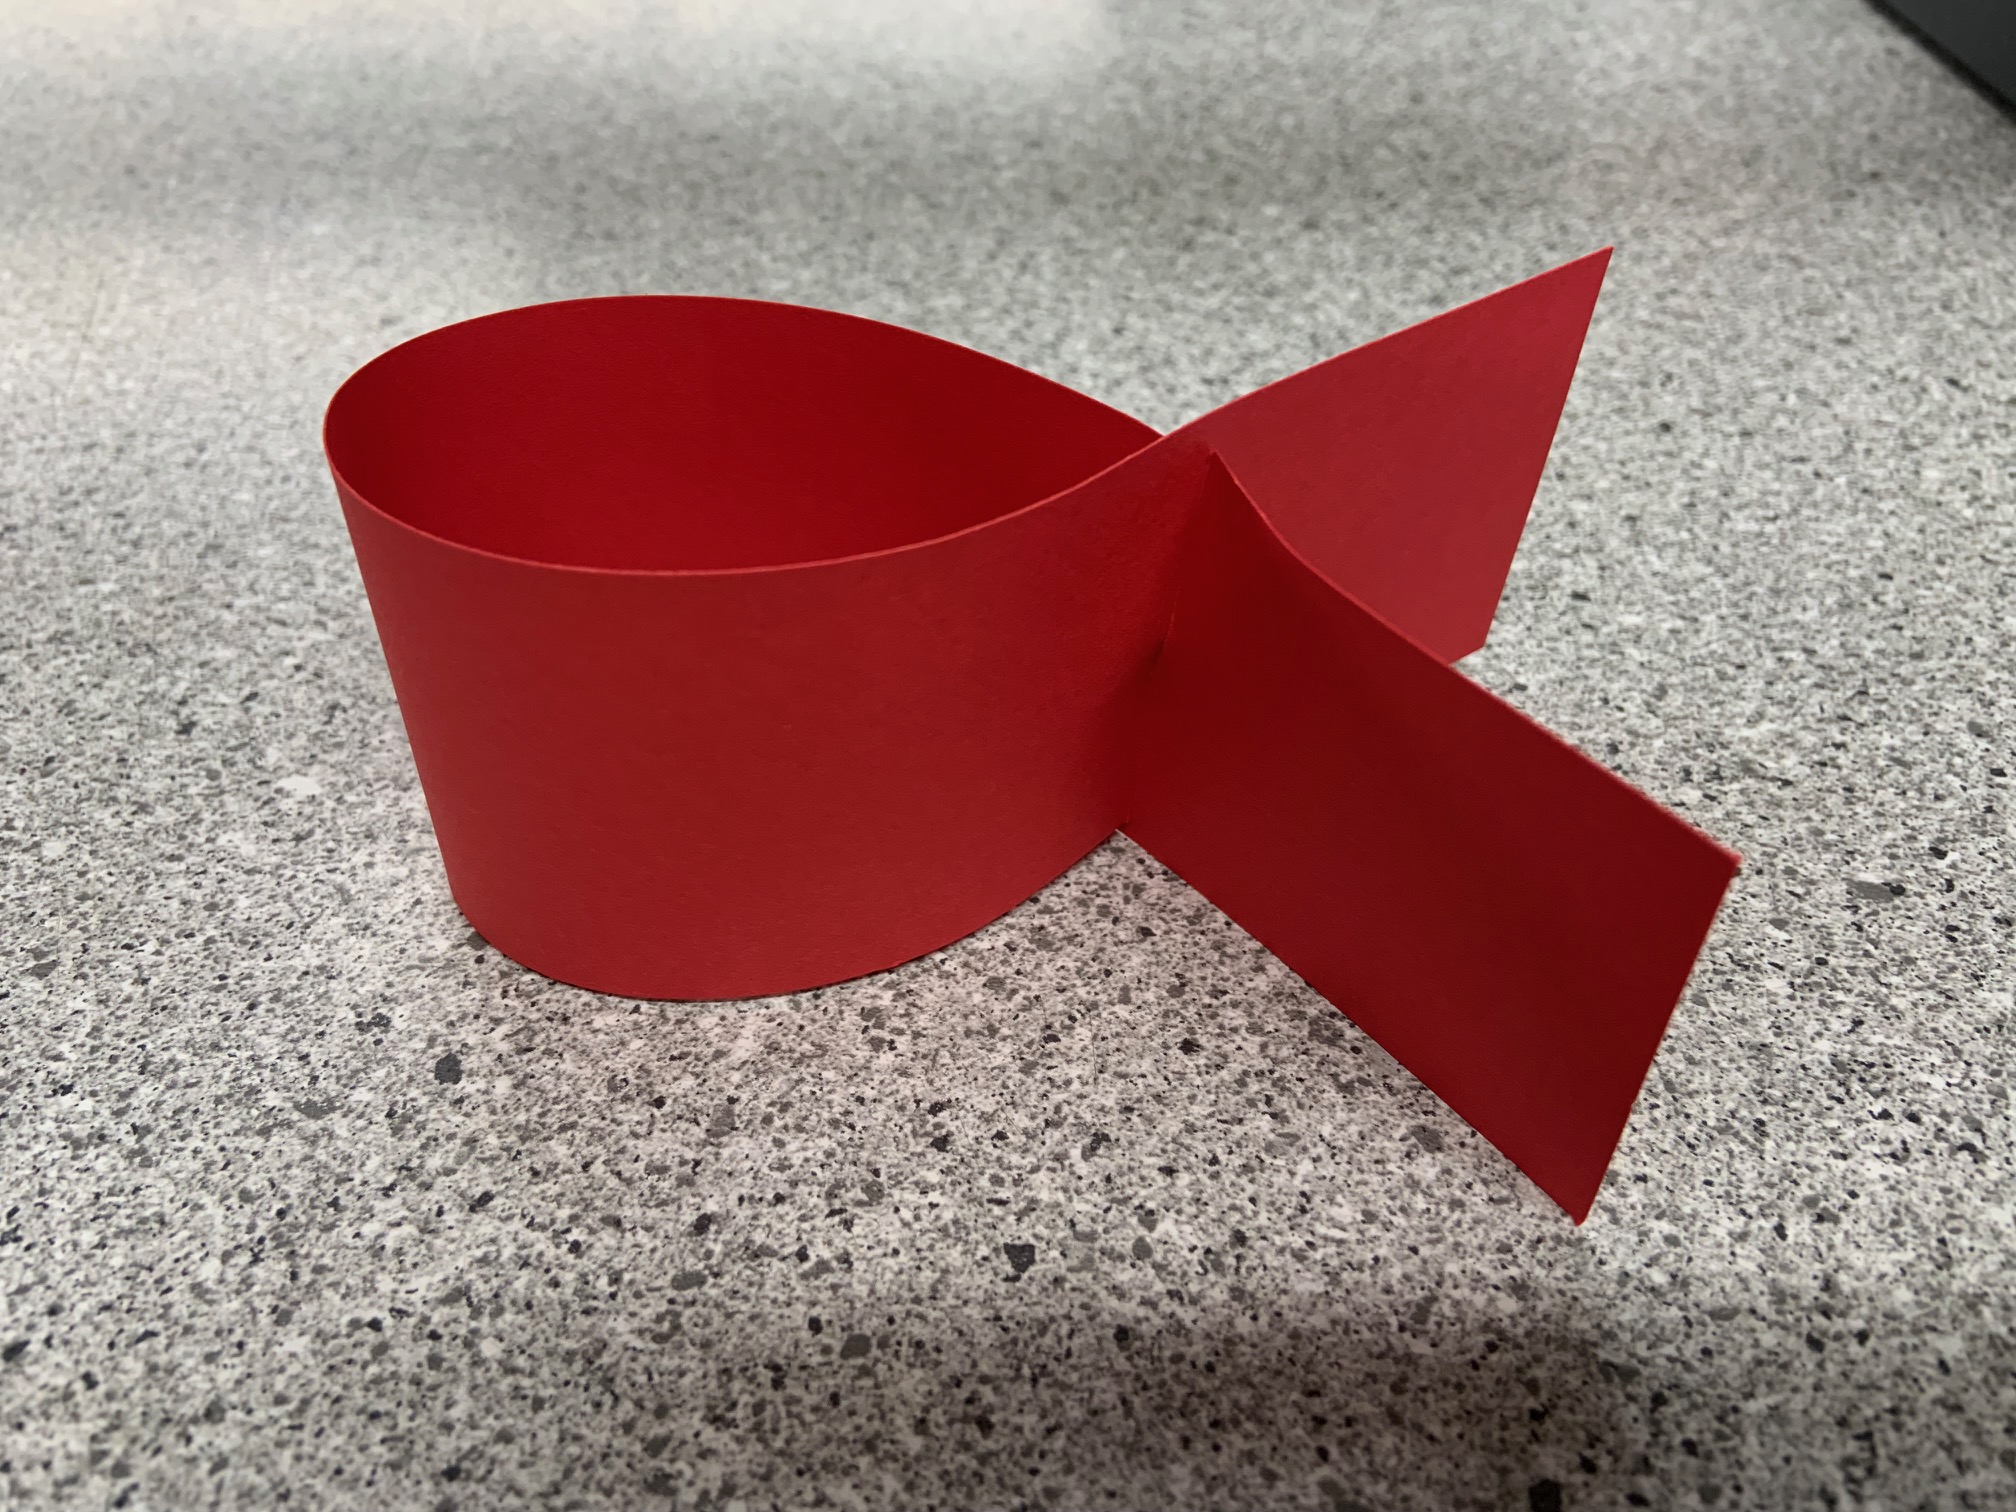
Then fold the paper and connect the slits you cut to make the fish. Throw it and see what it does!
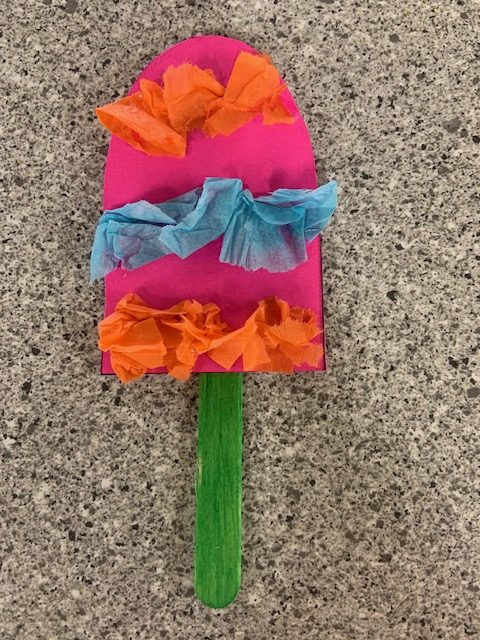
You will need a scissor, a popsicle stick, a paper popsicle shape, tissue paper, and glue for this craft. Cut out your popsicle out of the paper. Glue the stick on the back. Tear your tissue paper into little pieces and crumple them up. Glue them in a design. Let dry!!
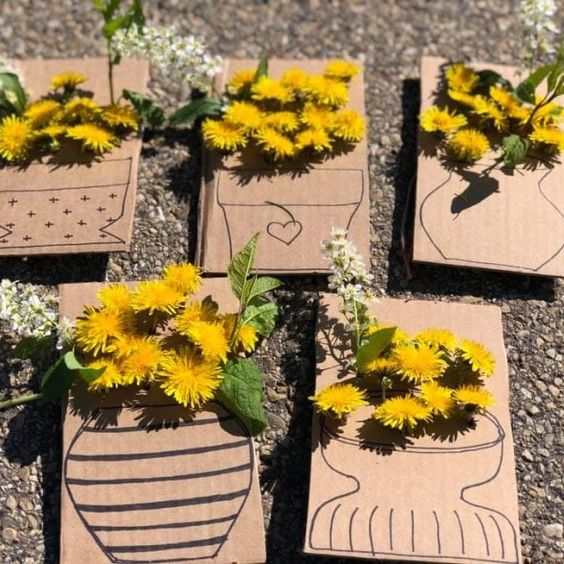
All you will need is a pencil, a black marker, cardboard, and a scissor. Take your cardboard piece and cut it to the size you want. Then draw a vase with your black marker. Use the pencil to poke holes in above the vase. (See picture below). Next pick some dandelions to stick into the holes. You can use other flowers if you wish.
For this craft, you will need patterned paper, liquid glue, a scissor, 2 google-eyes, and a clothespin.
Start by cutting a cape shape out of your patterned paper. Then cut a matching eye mask as well. Glue your clothespin on its side on top of the cape. Then add the eye mask to the top and the eyes. Let it dry!
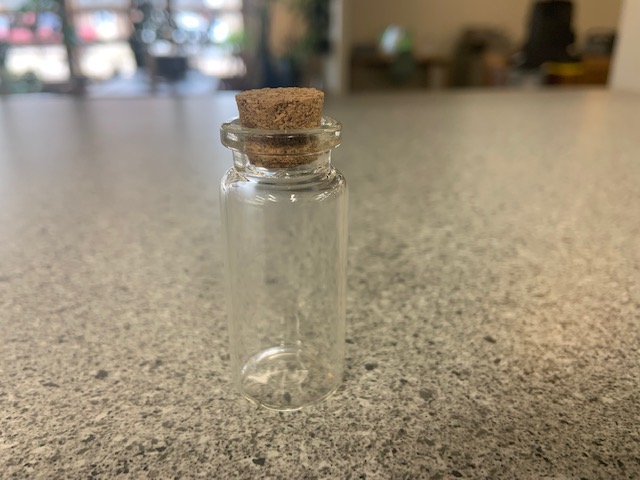
All you need for this activity is a glass jar or bottle and any supplies you would like to decorate it with. Take your jar out on a walk and fill it with any treasures you find. Then decorate your jar and display it somewhere you can look at it!
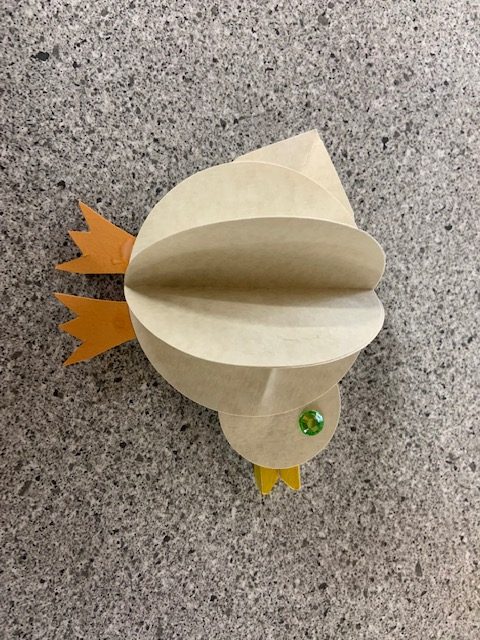
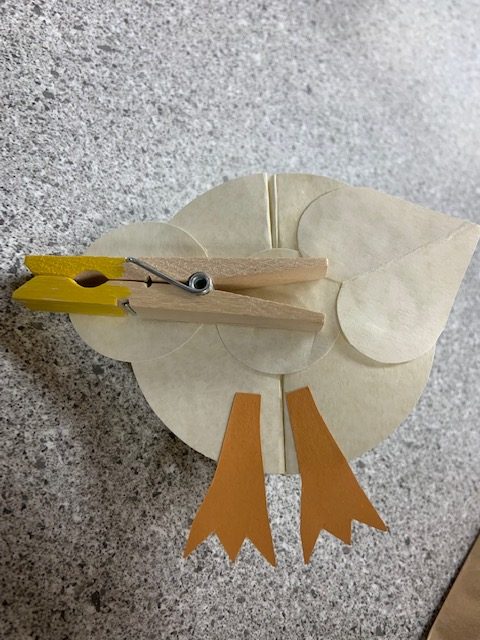
For this craft, you will need liquid glue, a wooden clothespin, scissors, a jewel or googly eye, cardstock paper, and a yellow marker. We used an off-white color for the body and orange for the feet. To start, cut your circles. You will need three large, two smaller, and a heart the same size as the smaller circles. Then cut feet out of the orange paper. Next, color the open end of the clothespin yellow. Then take your three big circles and fold them in half. Glue them together to create a 3-D shape as the picture shows.
Then take one of the smaller circles and glue it on the back. Then glue the other one on as a head. Glue your clothespin onto the back making sure the yellow beak sticks out from the head. Then cut a heart out of your white square and glue onto the back for a tail (the tip of the heart is the tail). Then cut two feet out of the orange square and glue those on the bottom. Lastly, stick your jewel on for an eye. Let the project dry.